How to Cook Cheese Sticks: 2 Easy and Crispy Filipino-Style Recipes
If you are looking for an easy, budget-friendly snack that disappears almost as quickly as you make it, these Homemade Cheese Sticks are a must-try. Crispy on the outside, warm and melty inside, and perfect with ketchup or mayonnaise, cheese sticks are one of those simple snacks that everyone loves.


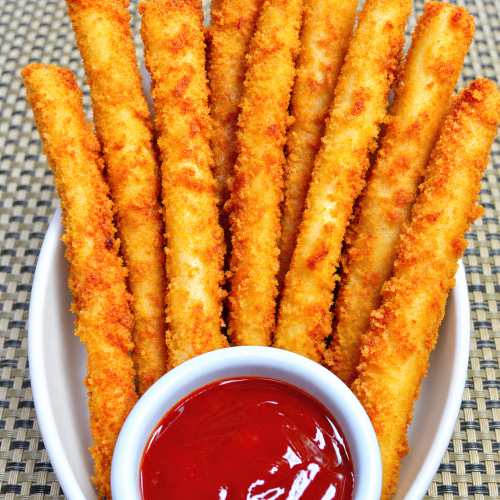
Cheese Sticks – Extra Crispy Filipino-Style
Equipment
- Knife and chopping board
- 3 shallow bowls or containers
- Tray
- Frying pan
- Tongs
- Cooling rack or paper towels
Ingredients
- 1 block cheese such as Eden or another melting cheese
- 2 eggs
- 1 cup all-purpose flour
- 1 cup breadcrumbs
- 1 teaspoon salt
- 1 teaspoon black pepper
- 1 tablespoon water
- Oil for frying
Instructions
- Slice the cheese into long, even sticks.
- Place the all-purpose flour in one container.
- In a separate bowl, beat the eggs with 1 tablespoon water.
- In another container, combine the breadcrumbs, salt, and black pepper.
- Coat each cheese stick completely in flour.
- Dip it into the beaten egg, then roll it in the seasoned breadcrumbs.
- For an extra-crispy coating, dip the cheese stick into the egg again and coat it with breadcrumbs a second time.
- Arrange the coated cheese sticks on a tray and refrigerate for at least 1 hour, preferably overnight.
- Heat enough oil in a pan over low to medium-low heat.
- Carefully fry the cheese sticks in small batches for about 1 minute, or until golden brown and crispy. Turn as needed for even browning.
- Remove from the oil and drain on a cooling rack or paper-lined plate.
- Serve immediately with ketchup, mayonnaise, sweet chili sauce, or your favorite dipping sauce.
Notes
- Make sure the cheese is completely covered with the coating to prevent melted cheese from leaking during frying.
- Do not skip chilling the coated cheese sticks. This helps firm up the cheese and coating.
- Avoid overcrowding the pan because it can lower the oil temperature and make the coating greasy.
- Keep the heat at low to medium-low. Very high heat can brown the coating too quickly.
- For lumpia-wrapper cheese sticks, wrap the cheese in lumpia wrappers, seal with water, dip in beaten egg, coat with breadcrumbs, and fry until golden and crisp.
- Cheese sticks are best served immediately while the coating is hot and crispy.
-
Storage
Allow leftover cheese sticks to cool completely before placing them in an airtight container. Refrigerate and consume within a couple of days.Reheating
Reheat in an air fryer, oven, or toaster oven until hot and crisp. Avoid microwaving because it can make the coating soft and chewy.
Nutrition
This recipe gives you two easy ways to make Filipino-style cheese sticks. The first uses a double coating of flour, egg, and breadcrumbs for an extra-crispy crust. The second uses lumpia wrappers for a thin, crunchy shell. Both versions are delicious, affordable, and easy enough for beginners.
Whether you are preparing merienda for the family, a quick appetizer for guests, or a snack to sell, this cheese sticks recipe is worth keeping.

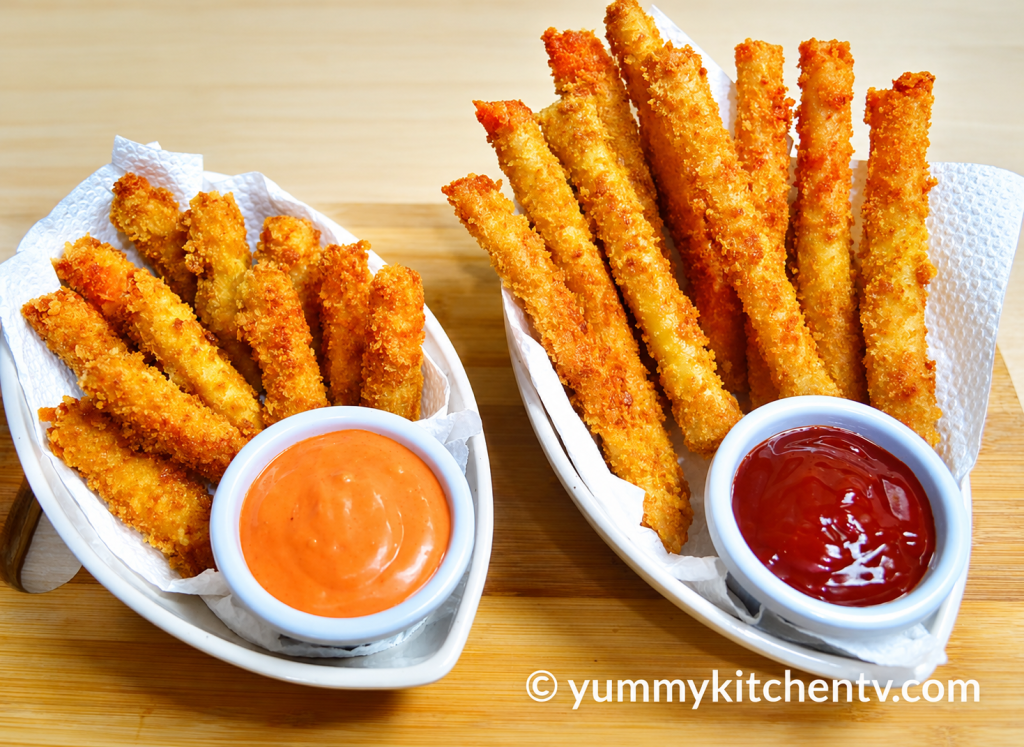
Watch how to make Cheese Sticks
What Are Cheese Sticks?

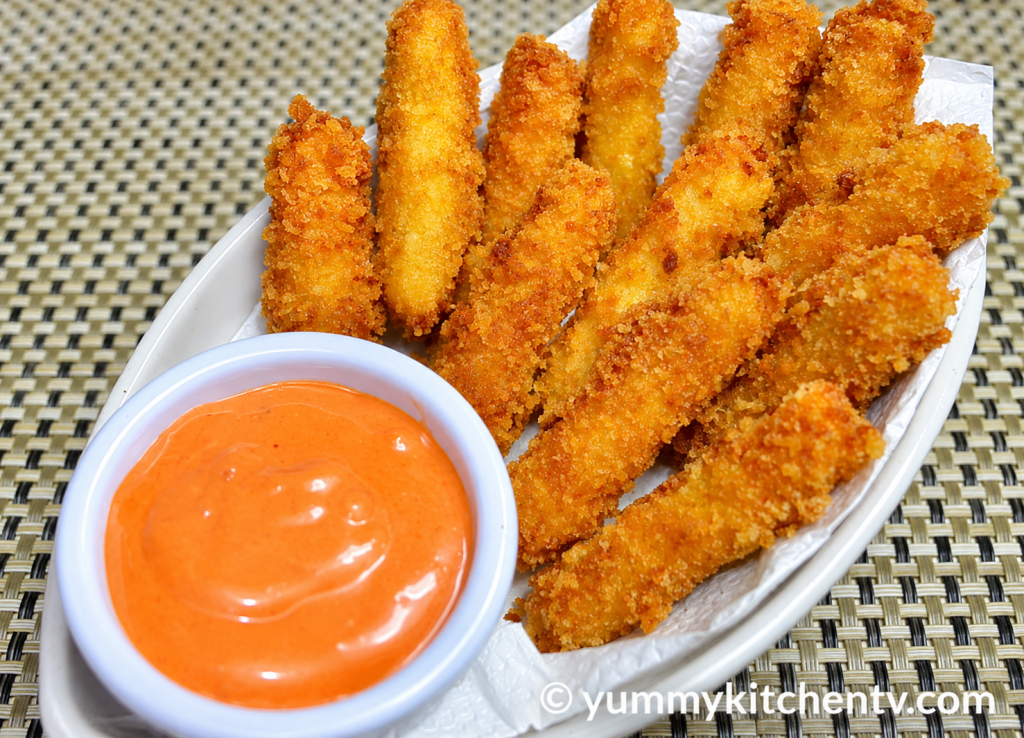
Cheese sticks are pieces of cheese coated or wrapped before being fried until golden and crisp. They are commonly served as finger food, appetizer, or merienda. The familiar mozzarella stick is made with mozzarella cheese, while Filipino-style cheese sticks can be made with locally available melting cheese.
In the Philippines, cheese sticks are especially popular as a simple street-style snack. They can be served with tomato ketchup, sweet chili sauce, mayonnaise, garlic-mayo or another favorite dipping sauce.
Why You’ll Love This Recipe
There are plenty of reasons to love these homemade cheese sticks. First, they are inexpensive and use ingredients that are easy to find. You can also choose between two coatings depending on the texture that you want.
The breadcrumb version gives you a thicker, crunchier crust. The lumpia-wrapper version is lighter and has that familiar Filipino fried-snack crunch.
Ingredients
For the Breadcrumb-Crusted Version
- 1 block cheese, such as Eden or another melting cheese
- 2 eggs
- 1 cup all-purpose flour
- 1 cup breadcrumbs
- 1 teaspoon salt
- 1 teaspoon black pepper
- 1 tablespoon water
- Oil, for frying

For the Lumpia-Wrapper Version
- 1 block cheese
- Lumpia wrappers
- 2 eggs
- 1 teaspoon salt
- 1 tablespoon water
- 1 cup breadcrumbs
- Oil, for frying
You can adjust the seasoning according to your taste. If your cheese is already salty, use less salt in the coating.

How to Make Cheese Sticks
Version 1: Extra-Crispy Breadcrumb Cheese Sticks
1. Cut the cheese.
Slice the block of cheese into long, even sticks. Try to keep the pieces similar in size so they cook at about the same rate. Avoid making them too thin because they can melt quickly during frying.
2. Prepare the coatings.
Place the all-purpose flour in one container. In another bowl, beat the eggs with the water until smooth and pale yellow. In a third container, combine the breadcrumbs, salt, and black pepper.
3. Coat the cheese.
Roll each cheese stick in flour, making sure it is completely covered. Dip it into the beaten egg, then roll it in the seasoned breadcrumbs. For a thicker and crunchier coating, dip it into the egg again and coat it with breadcrumbs a second time.
Repeat until all the cheese sticks are coated.
4. Chill before frying.
Arrange the coated cheese sticks on a tray and refrigerate for at least one hour or, preferably, overnight. This helps firm up the cheese and coating, reducing the chance of the cheese melting out too quickly during frying.
5. Fry until golden.
Heat enough oil in a pan over low to medium-low heat. The oil should be hot before adding the cheese sticks. Carefully fry them for about one minute, or until the coating becomes golden brown and crisp. Turn them if needed so they brown evenly.
Do not overcrowd the pan. Frying in small batches helps maintain the oil temperature and keeps the coating crisp.
6. Drain and serve.
Transfer the fried cheese sticks to a rack or paper-lined plate to remove excess oil. Serve immediately with your favorite dipping sauce.
Version 2: Lumpia-Wrapped Cheese Sticks
1. Prepare the wrappers and cheese.
Cut the lumpia wrappers in half if they are large. Slice the cheese into long sticks that fit comfortably inside the wrappers.
2. Wrap the cheese.
Place one wrapper on a clean work surface. Put a cheese stick near the bottom portion of the wrapper and roll it until the cheese is halfway covered. Fold the left and right sides inward, then continue rolling until completely sealed.
Dampen the edge with a little water and press gently to secure the wrapper. Repeat with the remaining cheese.
3. Prepare the coating.
Beat the eggs with water and prepare the breadcrumbs in a separate container. Dip each wrapped cheese stick into the beaten egg, then roll it in breadcrumbs until evenly coated.
Unlike the first version, these do not need to be refrigerated before frying.
4. Fry until crisp.
Heat enough oil in a pan over low to medium-low heat. Once the oil is hot, carefully add the cheese sticks. Fry until golden and crispy, turning as needed for even browning.
5. Drain and serve.
Remove the cheese sticks from the oil and place them on a rack or paper-lined plate. Let them drain briefly before serving.
Tips for Perfect Cheese Sticks
Use firm cheese. Choose cheese that melts nicely but is firm enough to cut and handle. If the cheese is very soft, chilling it before coating can make the process easier.
Seal the coating well. Make sure there are no exposed gaps, especially around the ends. Melted cheese can escape through even a small opening.
Do not skip chilling the first version. Refrigerating the double-coated cheese sticks helps the coating adhere and gives the cheese more time to firm up.
Use hot oil. Adding cheese sticks to cold or lukewarm oil can make the coating absorb too much oil and become greasy. The oil should be hot enough for the coating to sizzle immediately.
Do not overcook. Cheese sticks only need a short frying time. Once the outside is golden brown, remove them right away.
Fry in batches. Too many pieces at once can lower the oil temperature. Give each cheese stick enough room to fry properly.
Keep the heat controlled. Very high heat can brown the breadcrumbs too quickly while the cheese becomes excessively melted. Low to medium-low heat works well for a more controlled fry.
For the crispiest results, make sure the breadcrumbs completely cover every piece of cheese. Pay special attention to the ends, where melted cheese can escape. A firm coating also helps the finished sticks hold their shape and gives every bite that satisfying crunch.

Serving Suggestions
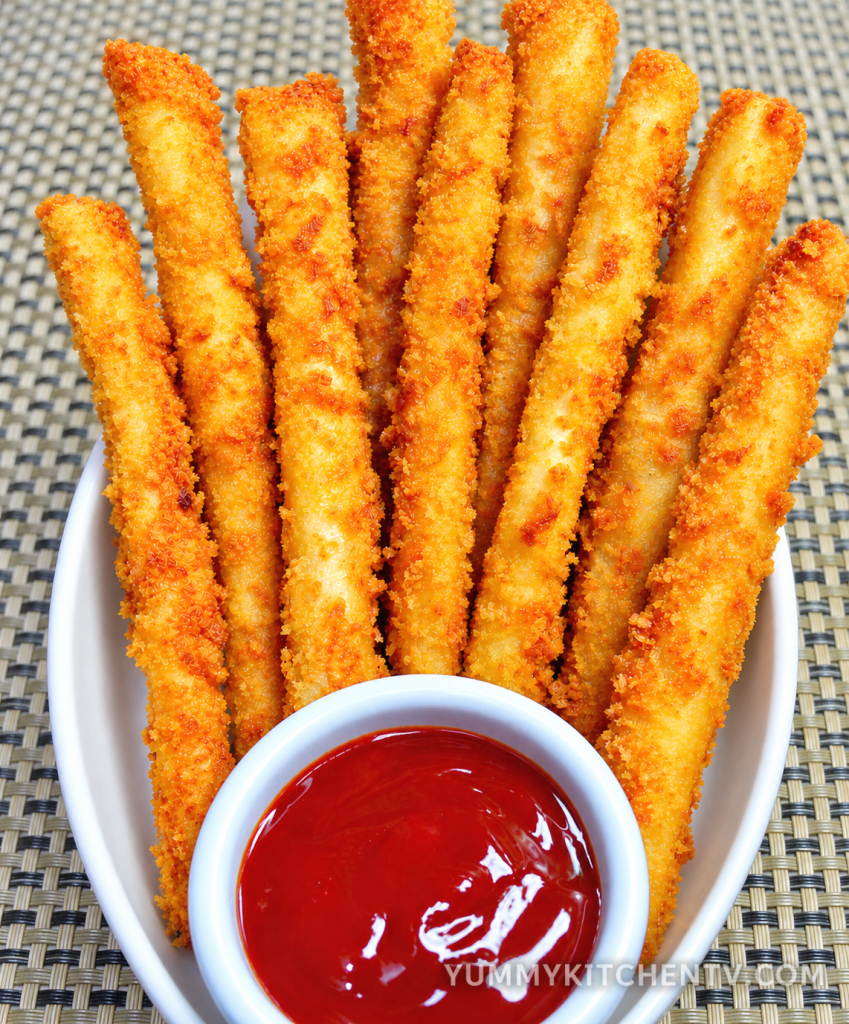
Serve homemade cheese sticks while they are hot and crispy. Ketchup is a classic Filipino-style pairing, but you can also serve them with mayonnaise, garlic mayo, sweet chili sauce, tomato sauce, or your favorite dip.
For merienda, pair them with iced tea, soda, coffee or another cold drink. They also make a fun addition to party snack platters alongside fried spring rolls, banana fritters, and other finger foods.
Prepare your dipping sauce before frying so the cheese sticks can be served immediately while hot.
Storage and Reheating
Cheese sticks are best eaten immediately after frying because the coating is at its crispiest when fresh. If you have leftovers, let them cool completely before placing them in an airtight container. Refrigerate and consume within a couple of days.
To reheat, use an oven, toaster oven, or air fryer to bring back some of the crispness. Avoid microwaving when possible because it can make the coating soft and chewy.

Can I Make Cheese Sticks Ahead of Time?
Yes. The breadcrumb-coated version can be prepared, covered, and refrigerated overnight before frying. You can also freeze coated cheese sticks in a single layer, then transfer them to a freezer-safe container once firm. Fry them from chilled or frozen, adjusting the cooking time as needed and watching carefully for cheese leakage.
Conclusion
These Homemade Cheese Sticks prove that an irresistible snack does not have to be complicated or expensive. With just a few basic ingredients, you can make crispy, golden snacks filled with warm, melty cheese.
Try the double-breadcrumb coating for an extra-crunchy bite, or use lumpia wrappers for a lighter version. Remember to seal the cheese well, chill the first version, and fry only after the oil is hot.
Make a batch for merienda, parties, or simply whenever a cheesy snack craving strikes. Once you taste that crispy coating and gooey center, you will understand why these easy cheese sticks are such a favorite!