3-Ingredient Chocolate Ice Cream Recipe: Easy Homemade No-Churn Ice Cream
Making your own chocolate ice cream at home is surprisingly easy. You do not need an ice cream maker or a long list of ingredients. With three simple ingredients, you can make a rich, creamy, chocolatey dessert that is budget-friendly too.


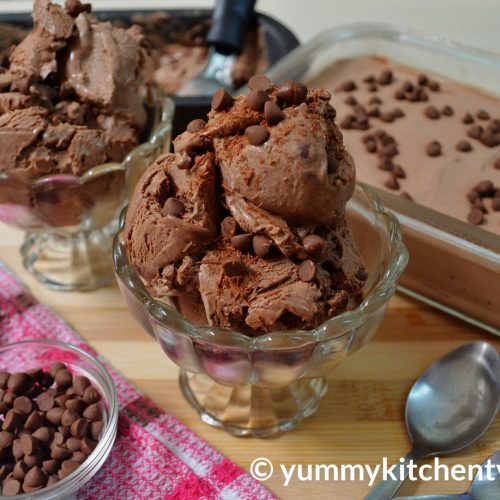
3-Ingredient Chocolate Ice Cream
Equipment
- Large mixing bowl
- Hand mixer or stand mixer
- Spatula
- Measuring Cups
- Freezer-safe container with lid
Ingredients
- 2 packs all-purpose cream 250 mL each, chilled
- 1 can condensed milk 390 grams
- ½ cup unsweetened cocoa powder
- Optional: chocolate chips crushed cookies, chopped nuts, sprinkles, or chocolate shavings
Instructions
- Chill the cream and equipment. Make sure the all-purpose cream is thoroughly chilled before whipping. For best results, you can also chill the mixing bowl and beaters.
- Whip the cream. Pour the chilled all-purpose cream into a large bowl. Using a hand mixer or stand mixer, beat until fluffy and approximately doubled in volume. Stop when soft peaks form. Avoid overwhipping.
- Add the condensed milk. Pour the condensed milk into the whipped cream. Gently fold or mix until well combined while keeping the mixture light and airy.
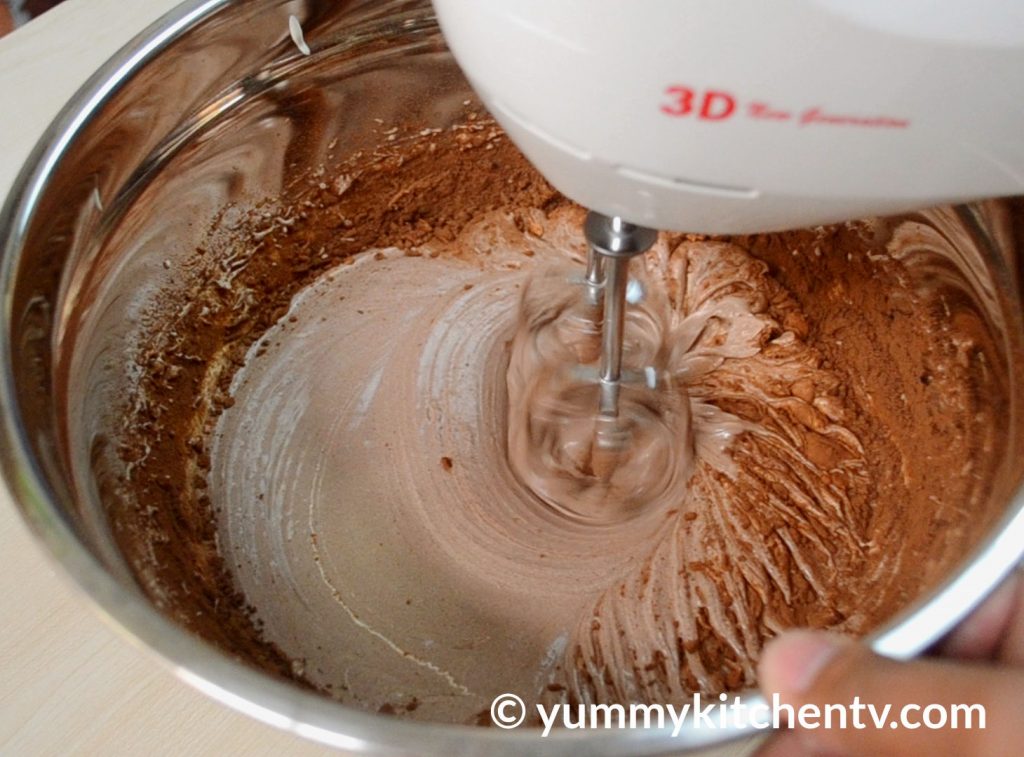
- Add the cocoa powder. Gradually add the unsweetened cocoa powder. Fold gently until the cocoa is evenly incorporated and the mixture has a smooth chocolate color.
- Add toppings. If desired, fold in chocolate chips, crushed cookies, chopped nuts, or other favorite add-ins.
- Transfer to a container. Pour the mixture into a clean, freezer-safe container. Smooth the surface with a spatula and cover tightly.
- Freeze. Freeze for at least 6 hours or until firm. For the best results, freeze overnight.
- Optional texture step. During the first few hours of freezing, you may stir or beat the mixture about once every hour to help reduce larger ice crystals and create a smoother texture.
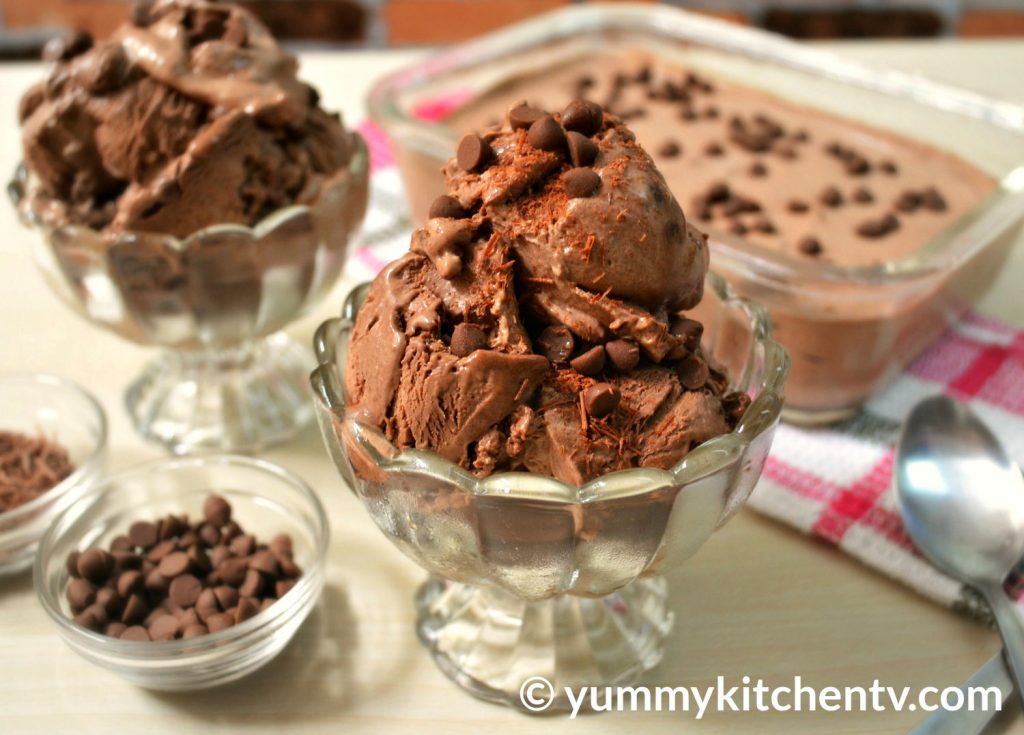
- Serve. Let the ice cream sit at room temperature for a few minutes before scooping if it is too firm. Serve in bowls, cones, or dessert cups with your favorite toppings.
Notes
- Keep the cream cold: Well-chilled cream whips more easily and helps create a fluffy texture.
- Do not overwhip: Stop once the cream reaches soft peaks. Overwhipping can make the cream grainy.
- Fold gently: Mixing too aggressively after whipping can remove the air that helps make the ice cream creamy.
- Use unsweetened cocoa: Condensed milk already provides plenty of sweetness, so unsweetened cocoa gives the best balance.
- Freeze properly: Keep the container tightly covered to prevent freezer burn and unwanted freezer odors.
- For easier scooping: Allow the ice cream to sit at room temperature for a few minutes before serving.
Nutrition
This 3-ingredient chocolate ice cream recipe is perfect for Filipino home cooks because the ingredients are easy to find in supermarkets and groceries. It is also great for beginners and anyone who wants homemade ice cream without spending too much.
The best part? Once the mixture is prepared, the freezer does most of the work.

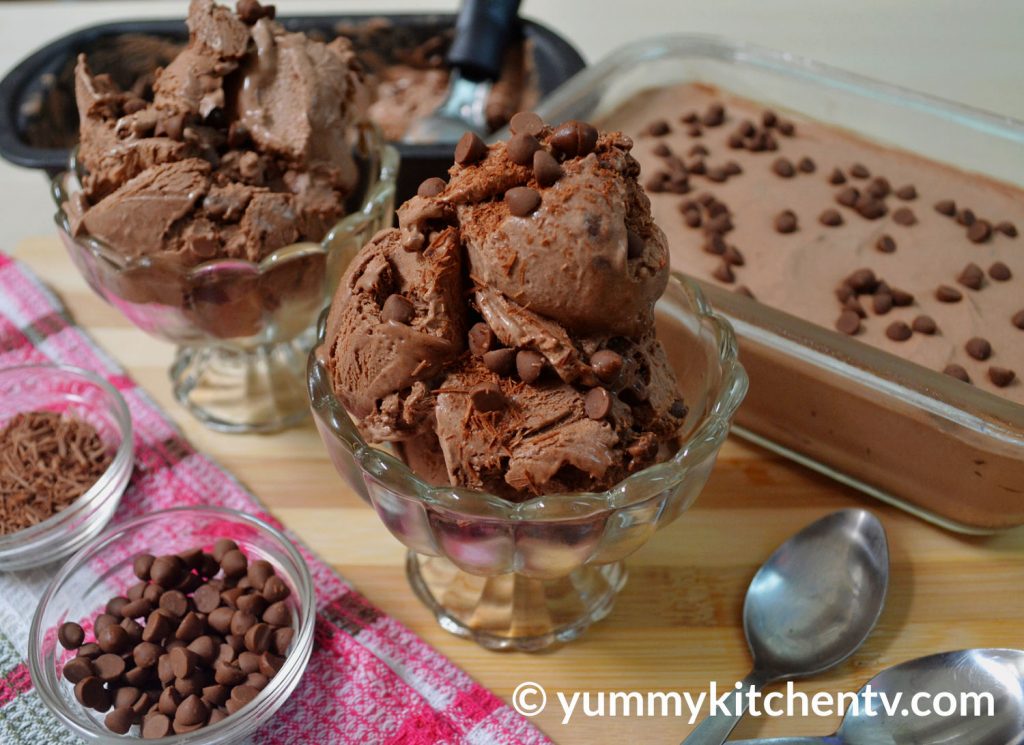
Watch how to Make 3 Ingredients Chocolate Ice Cream
What Is 3-Ingredient Chocolate Ice Cream?

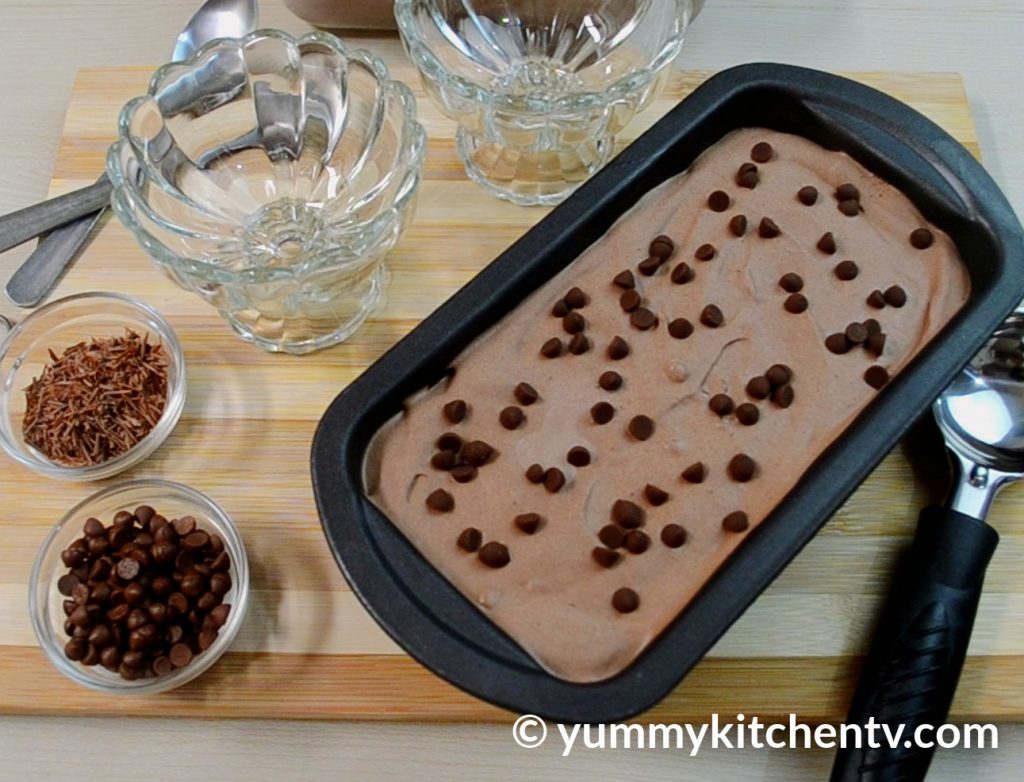
Homemade chocolate ice cream is a frozen dessert made by combining cream, condensed milk and cocoa powder. Unlike traditional ice cream recipes, this version does not require eggs, a custard base, or an ice cream machine.
The cream provides the rich and fluffy texture, while condensed milk adds sweetness and helps keep the frozen mixture creamy. Unsweetened cocoa powder gives the ice cream its deep chocolate flavor without making it overly sweet.
This recipe is sometimes called no-churn chocolate ice cream because you simply whip the cream, combine the ingredients, and freeze the mixture. It is one of the easiest homemade ice cream recipes you can make.
Why You’ll Love This Recipe
Only 3 main ingredients. You only need all-purpose cream, condensed milk and cocoa powder. No eggs, gelatin, or special stabilizers are needed.
No ice cream maker. A hand mixer or stand mixer is enough to whip the cream. You can still make the recipe even if you do not own an ice cream machine.
Creamy and chocolatey. The whipped cream creates a light texture, while cocoa powder gives every spoonful a delicious chocolate taste.
Budget-friendly. Making ice cream at home can be more affordable than buying several tubs of premium ice cream, especially when serving a family.
Easy to customize. Add chocolate chips, crushed cookies, nuts, sprinkles, or your favorite toppings before freezing.
Great for any occasion. Serve it after lunch or dinner, prepare it for birthdays, or keep a container in the freezer for unexpected guests.
Ingredients
You only need three ingredients for the basic recipe:
- 2 packs all-purpose cream, 250 mL each, or 500 mL whipping cream
- 1 can condensed milk, about 390 grams
- ½ cup unsweetened cocoa powder
Optional toppings include chocolate chips, chopped nuts, cookie crumbs, chocolate shavings or sprinkles.
Choosing the Cream
For Filipino home cooks, refrigerated all-purpose cream is a convenient choice and works beautifully in this recipe. You can also use whipping cream if that is what you have available.
The most important thing is to make sure the cream is very cold before whipping. Cold cream traps air more effectively, giving your ice cream a lighter and smoother texture.
How to Make 3-Ingredient Chocolate Ice Cream
1. Chill the Ingredients and Equipment
Before you start, place the all-purpose cream in the refrigerator until thoroughly chilled.
2. Whip the Cream
Pour the chilled cream into a large mixing bowl. Using a hand mixer or stand mixer, beat the cream until it becomes fluffy and roughly doubles in volume.
You are looking for a thick, airy consistency that can hold soft peaks. Avoid beating it for too long, because overwhipping can cause the cream to become grainy and eventually turn into butter.
3. Add the Condensed Milk
Pour the condensed milk into the whipped cream. Fold or mix gently until the two are well combined.
Do not stir aggressively. You want to keep as much air as possible in the whipped cream because that air helps create a soft, scoopable texture after freezing.
4. Add the Cocoa Powder
Sift the unsweetened cocoa powder if it contains lumps, then gradually add it to the mixture. Fold until the cocoa is evenly distributed and the color becomes consistently chocolatey.
Taste the mixture before freezing. If you prefer a stronger chocolate flavor, you can add a little more cocoa powder, keeping in mind that additional cocoa can make the mixture slightly less sweet and more intense.
5. Add Optional Toppings
If you want extra texture, fold in chocolate chips, crushed cookies, chopped nuts, or other favorite additions.
6. Freeze
Transfer the chocolate ice cream mixture to a clean, freezer-safe container. Smooth the surface with a spatula and cover it tightly.
Freeze for at least 6 hours, or until firm. For the best texture, letting it freeze overnight is a convenient option.
How to Make Homemade Ice Cream Creamier
The texture of homemade ice cream depends on a few simple details.
First, make sure the cream is cold before whipping. Warm cream may take longer to whip and may not reach the volume you need.
Second, avoid overmixing after the condensed milk and cocoa are added. Gentle folding helps preserve the air incorporated into the cream.
You can also stir or beat the mixture about once every hour during the early freezing stage. This can help break up larger ice crystals and produce a smoother texture.
Finally, keep the container covered tightly. Exposure to air can contribute to ice crystals and freezer odors.

A Few More Helpful Notes
Measure the cocoa powder carefully and break up lumps before adding it. Taste the mixture before freezing, especially if your condensed milk is very sweet. Always use a freezer-safe container with a secure lid, and avoid repeatedly leaving the ice cream out for long periods. These small details help keep the dessert creamy and flavorful too.
Tips for Perfect Chocolate Ice Cream
Use unsweetened cocoa powder. Condensed milk already provides plenty of sweetness, so unsweetened cocoa keeps the chocolate flavor balanced.
Chill everything well. Cold cream and cold equipment make whipping easier.
Do not overwhip the cream. Stop once it becomes fluffy and reaches soft peaks.
Fold gently. Too much mixing can deflate the whipped cream.
Use a shallow container. A wider container can help the mixture freeze more evenly and make scooping easier later.
Cover the surface. A tight lid helps protect the ice cream from freezer burn and unwanted odors.
Let it soften before scooping. Homemade ice cream can freeze quite firmly. A few minutes on the counter can make it easier to serve.

Easy Chocolate Ice Cream Add-Ins
This basic recipe is delicious on its own, but it also makes a great base for different flavors and textures.
For a cookies and cream chocolate ice cream, fold in crushed chocolate sandwich cookies before freezing.
For extra chocolate flavor, add chocolate chips, chocolate chunks, or chocolate shavings.
For crunch, try chopped roasted peanuts, almonds or cashews.
You can also drizzle chocolate syrup over the mixture before freezing and gently swirl it with a spoon for a simple chocolate ripple.
For a Filipino-inspired dessert, serve a scoop with sliced bananas, crushed wafer biscuits or a drizzle of chocolate sauce.
How to Serve
Once frozen, scoop the ice cream into bowls, cones, or dessert cups. Top it with chocolate syrup, sprinkles, crushed cookies, nuts, or shaved chocolate.
It also works wonderfully as a topping for warm brownies, waffles, pancakes, or freshly baked chocolate cake. The contrast between a warm dessert and cold homemade chocolate ice cream is especially delicious.
If you are serving a crowd, make the ice cream ahead of time and keep it frozen until dessert. Because this recipe is so simple, it is also convenient for birthdays, family gatherings, potlucks, and weekend treats.

Conclusion
You do not need fancy equipment or a complicated recipe to make delicious 3-ingredient chocolate ice cream at home. With chilled cream, condensed milk, and unsweetened cocoa powder, you can create a rich and creamy dessert that is easy enough for beginners and satisfying enough for the whole family.
The recipe is simple, affordable and easy to customize with your favorite toppings. Whether you enjoy it straight from the scoop, piled into a cone, or served beside a warm brownie, this easy homemade chocolate ice cream is a recipe worth keeping.
So the next time you have cream and condensed milk in the pantry, skip the store-bought tub and make your own chocolate treat. A little whipping, mixing, and several hours in the freezer are all it takes to turn three everyday ingredients into a delicious homemade dessert.