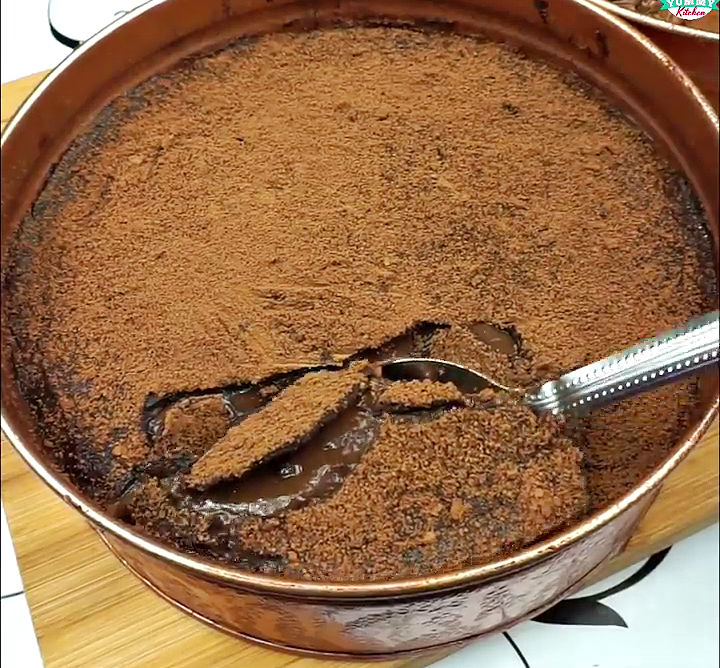
No-Bake Chocolate Dream Cake Recipe – Easy Filipino Dessert
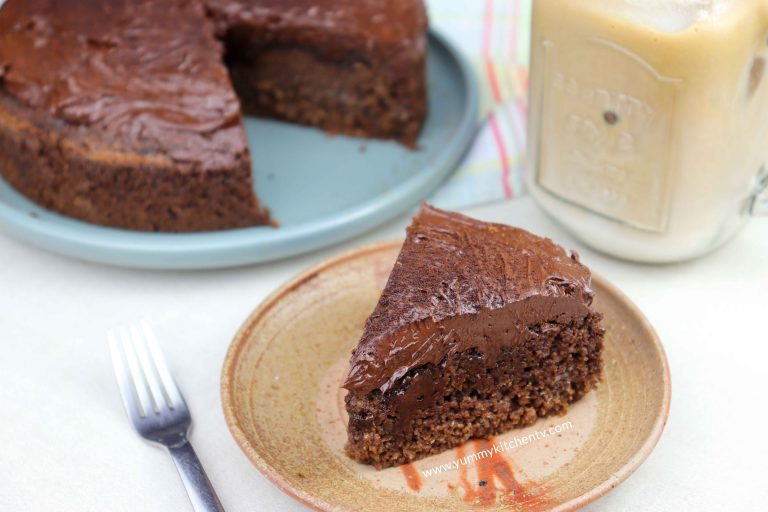
Craving something rich, chocolatey, and impressive without turning on the oven? This Chocolate Dream Cake is the answer. It has everything a chocolate lover could ask for: a soft chocolate cake base, creamy chocolate pudding, a crisp chocolate shell, and a finishing dusting of unsweetened cocoa powder. Best of all, this no-bake chocolate dream cake is surprisingly easy to make using store-bought chocolate cake bars.
This Filipino-inspired dessert is perfect for birthdays, celebrations, gifts, or simply satisfying a serious chocolate craving. The fun part is breaking through the hard chocolate top before digging into the soft, creamy layers underneath. It looks fancy, but the preparation is wonderfully simple.


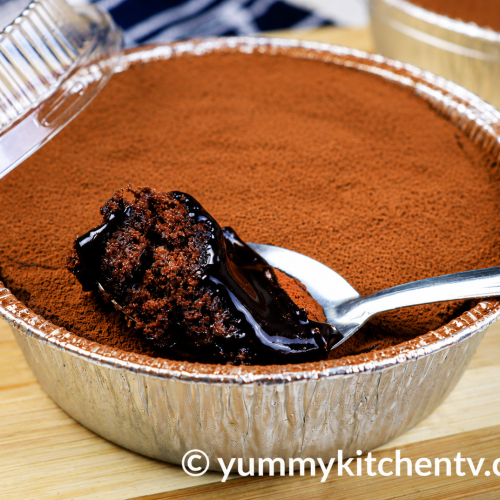
No-Bake Chocolate Dream Cake
Equipment
- 6-inch round aluminum pan with lid
- Small saucepan
- Silicone spatula
- Whisk or spoon
- Sifter
- Heatproof bowl
- Microwave or double boiler
- Refrigerator
Ingredients
Chocolate Cake Base
- Chocolate cake bars enough to cover the bottom of a 6-inch round pan
Chocolate Pudding
- 1/2 cup unsweetened cocoa powder
- 1/2 cup sugar
- 1 cup evaporated or fresh milk
- 2 teaspoons cornstarch or all-purpose flour
- 1 tablespoon butter or margarine
Chocolate Shell
- 1/2 to 1 cup chopped chocolate or chocolate chips
- Unsweetened cocoa powder for dusting
Instructions
- Remove the wax paper from the chocolate cake bars.
- Arrange the chocolate cake bars tightly in the bottom of a 6-inch round container or pan. Cut some pieces into smaller portions to fill gaps and create an even cake base.
- For the pudding, sift the cocoa powder, sugar, and cornstarch into a saucepan. Add the milk and stir until well combined and free of lumps.
- Cook the mixture over low heat, stirring continuously, until thick and smooth.
- Add the butter or margarine and stir until completely melted and the pudding becomes glossy.
- Pour the chocolate pudding over the prepared cake base. Spread evenly.
- Allow the cake to cool slightly, then refrigerate for about 30 minutes to help the pudding set.
- Melt the chopped chocolate or chocolate chips using a microwave or double boiler.
- Pour the melted chocolate over the chilled pudding layer and spread evenly to completely cover the surface.
- Refrigerate for at least 2 hours or until the chocolate shell becomes firm.
- Dust the top generously with unsweetened cocoa powder.
- Break through the chocolate shell with a spoon and serve chilled.
Notes
- Fudgee Barr, Lava Cake, or similar chocolate cake bars can be used for the base.
- Arrange the cake bars closely together so there are minimal gaps.
- Cook the chocolate pudding over low heat and stir continuously to prevent burning or lumps.
- If the pudding becomes too thick, add a small amount of milk and stir until smooth.
- Use dark chocolate for a less-sweet, deeper chocolate flavor or milk chocolate for a sweeter version.
- Chill the cake thoroughly before serving so the chocolate shell has time to become firm.
- Individual tubs can be used to make personal-sized Chocolate Dream Cakes.
- Keep refrigerated until ready to serve.
Nutrition
Watch how to make Chocolate Dream Cake
https://www.youtube.com/watch?v=G5ClPmoB-IQu0026t=33s
What Is Chocolate Dream Cake?

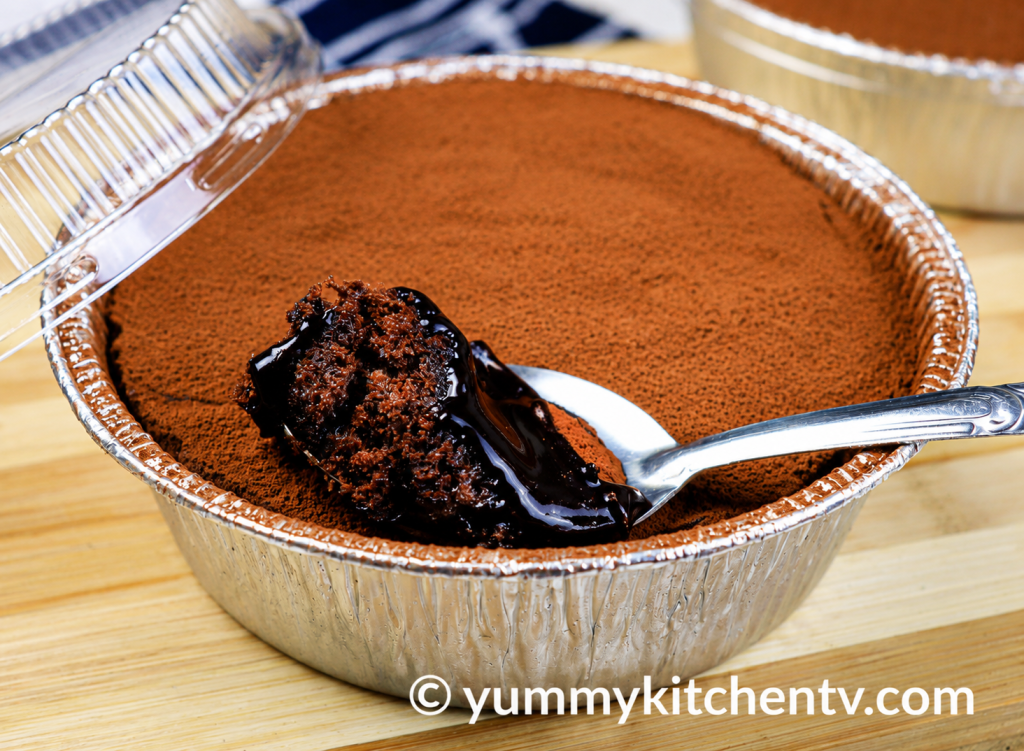
Chocolate Dream Cake is a layered chocolate dessert known for its contrasting textures and intense chocolate flavor. Traditional versions may have several layers, but this easy homemade version keeps things simple with three main components: chocolate cake, chocolate pudding, and a hard chocolate shell.
The bottom layer is soft and moist, the middle is smooth and creamy, and the top becomes firm and slightly crisp after chilling. A final dusting of cocoa powder adds a slightly bitter chocolate flavor that balances the sweetness.
What Is a No-Bake Chocolate Dream Cake?

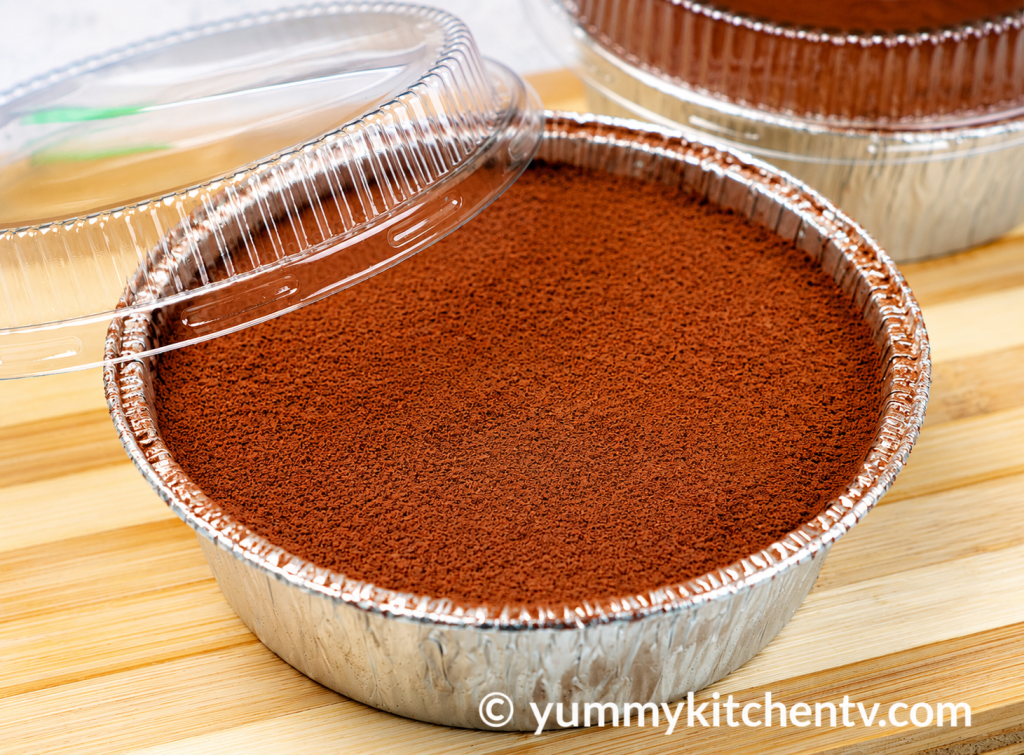
A no-bake chocolate dream cake is a convenient version that does not require making cake batter or using an oven. Instead, ready-made chocolate cake bars are arranged as the base. This makes the recipe especially useful for beginners, busy home cooks, or anyone who wants a beautiful dessert with minimal equipment.
For this recipe, Fudgee Barr, Lava Cake, or similar chocolate cake bars work well. You simply arrange them in a container, prepare the pudding on the stovetop, add the melted chocolate shell, and chill.
Why You’ll Love This Recipe
There are so many reasons to love this easy Chocolate Dream Cake. First, it is no-bake, so there is no need to worry about oven temperature, baking time, or whether your cake will rise properly.
Second, the ingredients are simple and easy to find. Store-bought chocolate cake bars save time, while cocoa powder, milk, sugar, cornstarch, butter, and chocolate create the creamy and crunchy layers.
Most importantly, the texture is irresistible. Every spoonful gives you soft cake, silky chocolate pudding, and a satisfying chocolate shell. It is rich enough to feel like a special occasion dessert but easy enough to make whenever you want.
Ingredients
For the Chocolate Cake Base:
- Chocolate cake bars, such as Fudgee Barr or Lava Cake
For the Chocolate Pudding:
- 1/2 cup unsweetened cocoa powder
- 1/2 cup sugar
- 1 cup milk, evaporated or fresh
- 2 teaspoons cornstarch or all-purpose flour
- 1 tablespoon butter or margarine
For the Hard Chocolate Shell:
- 1/2 to 1 cup chopped chocolate or chocolate chips
- Unsweetened cocoa powder, for dusting
Step-by-Step Method
1. Prepare the Cake Base
Remove the wax paper from the chocolate cake bars. Arrange the bars inside your chosen container or pan, fitting them closely together to create one solid layer. Cut some bars into smaller pieces as needed, especially when working with a round container. Think of it like putting together a chocolate puzzle. The goal is to cover the entire bottom without leaving large gaps.
For this recipe, a 6-inch by 2-inch round aluminum pan with a clear plastic lid works nicely. Once the cake base is arranged, set it aside.
2. Make the Chocolate Pudding
In a pot, sift together the cocoa powder, sugar, and cornstarch. Sifting is important because it removes lumps and helps create a smoother pudding. Add the milk and whisk or stir until the dry ingredients are completely dissolved.
Place the pot over low heat. Stir continuously while the mixture cooks and thickens. Use a silicone spatula to scrape the bottom and sides of the pan to prevent the chocolate mixture from sticking or burning.
When the pudding becomes thick and smooth, add the butter or margarine. Stir until the butter melts completely and the mixture becomes glossy.
3. Add the Pudding Layer
Pour the warm chocolate pudding directly over the arranged cake base. Spread it evenly with a spatula, making sure the entire cake layer is covered.
Allow the cake to cool slightly, then chill it for about 30 minutes. This helps the pudding layer set before adding the melted chocolate.
4. Make the Hard Chocolate Shell
Melt the chopped chocolate or chocolate chips using either a microwave or double boiler.
For the microwave method, heat the chocolate for about 1 minute, then stir well. If it is not completely melted, continue heating in short 20-second intervals, stirring after each one. This prevents the chocolate from overheating.
For the double-boiler method, place the chocolate in a heatproof bowl over a pot of gently boiling water. Make sure the bottom of the bowl does not touch the water. Stir until the chocolate melts completely and becomes smooth.
5. Add the Chocolate Shell
Pour the melted chocolate over the chilled pudding layer. Spread it evenly from edge to edge, creating a complete chocolate covering. This layer will become firm and provide the signature crack when you break into the dream cake.
Chill the cake for at least 2 hours, or until the chocolate shell is completely firm.
6. Finish and Serve
Once chilled, dust the top generously with unsweetened cocoa powder. To serve, use a spoon to break through the hard chocolate shell and scoop down through all the layers. Serve chilled and enjoy!
Tips and Variations
Use a container that matches the amount of cake you have. A container that is too large can make the layers thin, while a smaller one may cause the cake to overflow.
For the cake base, you can use different ready-made chocolate cakes as long as they are soft enough to create a solid layer. Fudgee Barr and Lava Cake are convenient options, but leftover homemade chocolate cake can also work.
Do not cook the pudding over high heat. Low heat and constant stirring help prevent scorching and give you a smooth, creamy texture.
If your pudding becomes too thick, add a small amount of milk and stir until it reaches a spreadable consistency.
For an extra-rich dessert, use dark chocolate for the hard shell. Milk chocolate creates a sweeter result, while semi-sweet chocolate gives a nice balance.
You can also make individual chocolate dream cakes in small tubs or cups. These are convenient for parties, dessert boxes, and small gifts.
Why the Layers Matter
The magic of this dessert comes from the contrast between its layers. The chocolate cake base provides a soft, moist foundation that holds everything together. The chocolate pudding layer adds creamy richness and keeps the cake moist. Then comes the hard chocolate shell, which gives the dessert its signature texture and the satisfying crack when you break it with a spoon. Finally, the cocoa powder adds a deep chocolate aroma and gentle bitterness that keeps the dessert from tasting overly sweet. Together, these simple layers create the luxurious chocolate experience that makes a dream cake so special for chocolate lovers.

Storage and Chilling
Keep the Chocolate Dream Cake refrigerated until ready to serve. Store it covered in the refrigerator to protect the chocolate shell and prevent the cake from absorbing other food odors.
For the best texture, serve it cold. If you are preparing it for an occasion, making it several hours ahead is ideal because the pudding and chocolate shell need enough time to set properly.
Serving Suggestions
Serve this chocolate dessert straight from the refrigerator with a spoon and let everyone enjoy the satisfying crack of the chocolate shell. You can pair it with fresh strawberries, banana slices, whipped cream, or a scoop of vanilla ice cream for an extra special treat.
Conclusion
This easy no-bake Chocolate Dream Cake proves that you do not need an oven or complicated baking skills to make an impressive dessert. With convenient chocolate cake bars, a creamy homemade pudding, and a firm chocolate shell, you can create a rich layered treat with very little effort.
Whether you are making it for a celebration, selling individual dessert tubs, or simply treating your family, this recipe is a delicious way to enjoy chocolate in every layer. Prepare it ahead, chill it well, break through that chocolate shell, and enjoy your own dreamy homemade dessert.