Coffee Ice Cream Recipe: Easy Homemade Creamy Coffee Ice Cream
Are you a coffee lover who wants to enjoy your favorite flavor in a cold and creamy dessert? This Coffee Ice Cream Recipe is a delicious way to turn your everyday coffee craving into a refreshing homemade treat. Made with chilled all-purpose cream, condensed milk, evaporated milk, and coffee, this ice cream is rich, smooth, and packed with a satisfying coffee flavor. Add chocolate chips on top, and you have a dessert that feels extra special.


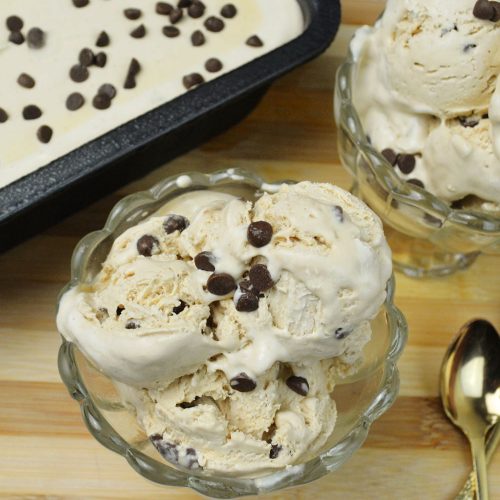
Coffee Ice Cream Recipe: Easy Homemade Creamy Coffee Ice Cream
Equipment
- Small saucepan
- Large mixing bowl
- Hand mixer
- Spatula
- Measuring cups and spoons
- Freezer-safe container
Ingredients
- 1/4 cup evaporated milk
- 2 tablespoons coffee granules or coffee powder
- 500 ml all-purpose cream chilled overnight
- 300 ml condensed milk chilled overnight
- Chocolate chips optional
Instructions
- Pour the evaporated milk into a small saucepan. Heat over low heat until almost boiling.
- Add the coffee granules and stir until completely dissolved. Remove from heat and allow to cool completely.
- Pour the chilled all-purpose cream into a large mixing bowl. Beat with a hand mixer until doubled in volume and fluffy. Do not overbeat.
- Add the chilled condensed milk and mix until well combined.
- Gradually add the cooled coffee mixture while mixing gently. Taste and adjust the coffee flavor as desired.
- Add the chocolate chips and gently fold them into the ice cream base.
- Transfer the mixture to a freezer-safe container and smooth the surface.
- Sprinkle additional chocolate chips on top, if desired.
- Cover tightly and freeze for at least 8 hours, or until firm.
- Let the ice cream sit at room temperature for a few minutes before scooping if it becomes too hard.
- Scoop and serve chilled.
Notes
- Dissolve the coffee completely in the warm evaporated milk before adding it to the ice cream base. This prevents bitter coffee granules from remaining in the finished ice cream.
- Chill the all-purpose cream and condensed milk overnight for better results.
- Chilling the mixing bowl and beaters can also help keep the cream cold while whipping.
- Do not overwhip the cream, as the fat can separate and begin turning into butter.
- Add the cooled coffee mixture gradually so you can control the strength of the coffee flavor.
- If using hot water instead of evaporated milk to dissolve the coffee, use only a small amount to avoid adding too much liquid.
- Whipping cream or heavy cream may be used instead of all-purpose cream.
- Chocolate chips are optional. Chocolate shavings, crushed cookies, or nuts can also be used as toppings.
- For a mocha variation, add cocoa powder or melted chocolate to the coffee mixture.
- Store tightly covered in the freezer and avoid repeatedly thawing and refreezing.
Nutrition
I am a coffee person, and I can easily drink several cups of coffee throughout the day. I usually prefer my coffee hot, but summer weather makes drinking hot coffee less enjoyable. I tried iced coffee, but it did not quite give me the same satisfaction. Then my mom brought home some coffee crumble ice cream, and after tasting it, I knew I had to make my own.
My first homemade coffee ice cream attempt was not perfect. I added coffee powder directly into the prepared ice cream base, thinking it would simply dissolve as everything froze. The ice cream tasted like coffee, but there were tiny floating coffee granules throughout it. Every few bites had an unpleasant burst of bitterness.
That experience taught me an important lesson: properly dissolving the coffee before adding it to the ice cream base makes a big difference. This recipe includes that simple step, giving you a smoother and more enjoyable homemade dessert.

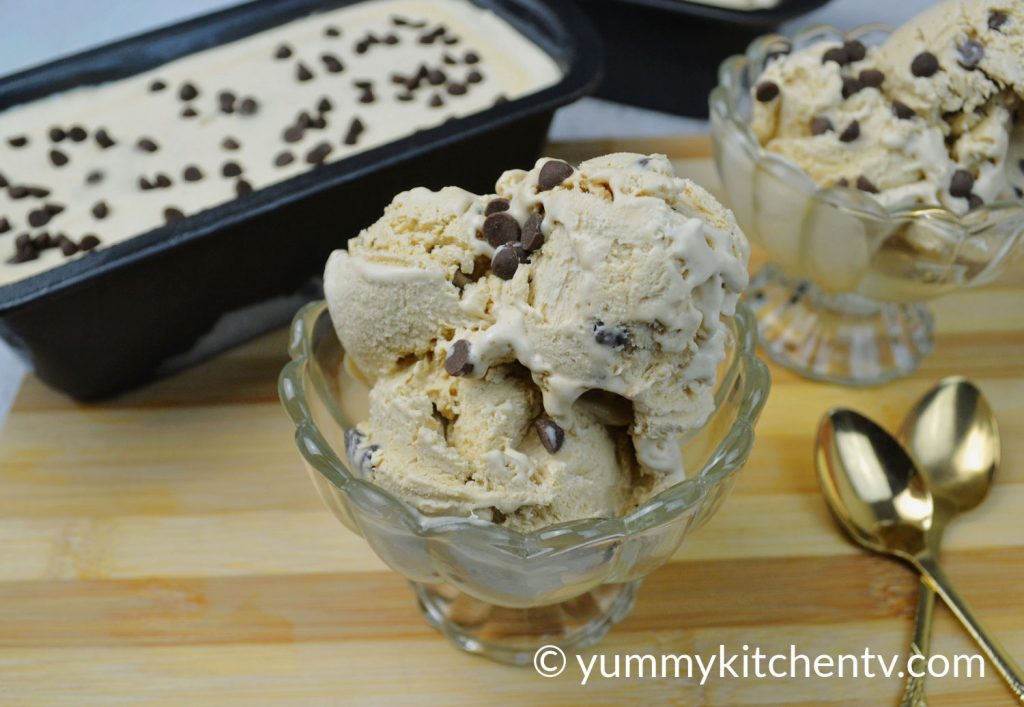
Watch how to Make Coffee Ice Cream
What Is Coffee Ice Cream?

Coffee ice cream is a creamy frozen dessert flavored with coffee. It combines the richness of dairy with the bold, slightly bitter flavor and aroma of coffee.
For this homemade version, coffee is first dissolved in warm evaporated milk. This creates a concentrated coffee mixture that can be incorporated smoothly into the ice cream base.
The recipe uses an easy homemade method without requiring a traditional ice cream maker. Chilled all-purpose cream is whipped until fluffy, then combined with condensed milk and the prepared coffee mixture. After freezing, the result is a creamy coffee-flavored dessert that is perfect for hot days.
Why You’ll Love This Recipe
There is something especially satisfying about making your own homemade coffee ice cream. You can control how strong, sweet, and creamy it becomes.
Coffee lovers can increase the coffee flavor for a bolder dessert, while those who prefer a milder taste can use less. The condensed milk provides sweetness, while the cream creates the rich texture we expect from ice cream.
This recipe is also beginner-friendly. You do not need an ice cream machine or complicated ingredients. A mixing bowl, hand mixer, freezer-safe container, and a few simple ingredients are enough.
Another advantage is the flexibility of the toppings. Chocolate chips are delicious with coffee, but you can also add chocolate shavings, crushed cookies, nuts, or a drizzle of chocolate syrup.

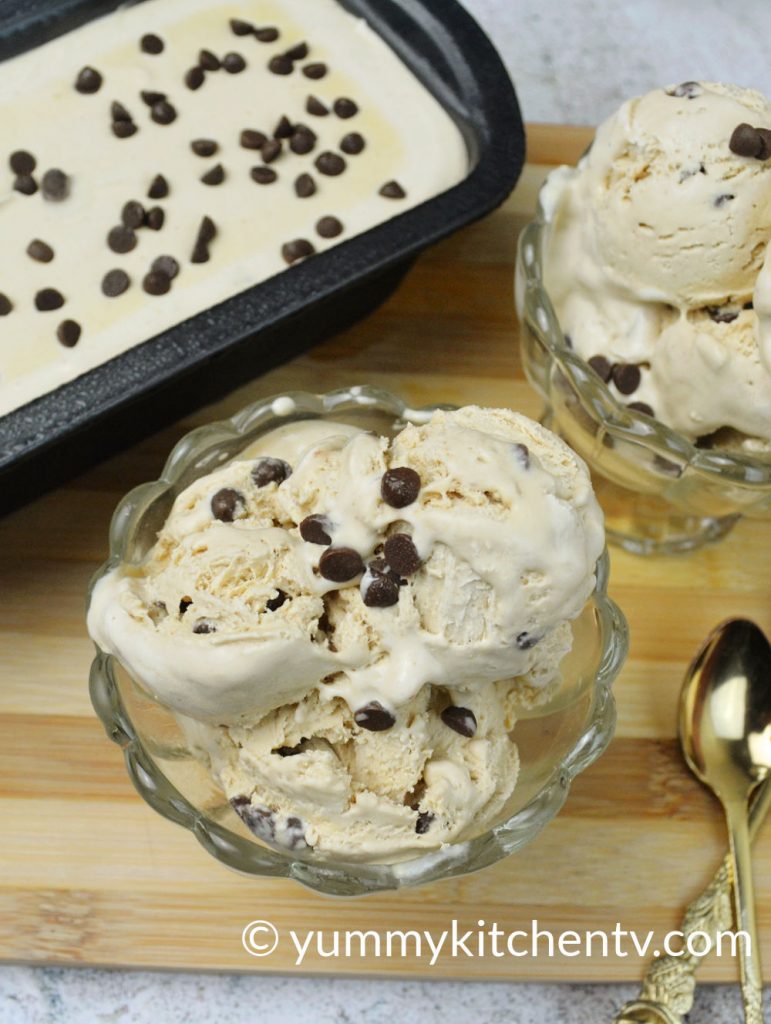
Ingredients
For this coffee ice cream recipe, you will need:
- 1/4 cup evaporated milk
- 2 tablespoons coffee granules or coffee powder
- 500 ml all-purpose cream, chilled overnight, or whipping cream
- 300 ml condensed milk, chilled overnight
- Chocolate chips, optional
Use instant coffee or coffee granules that dissolve easily. The amount can be adjusted depending on how strong you want the coffee flavor.
The evaporated milk is used to dissolve the coffee, helping prevent bitter granules from remaining throughout the finished ice cream.
Step-by-Step Method
1. Prepare the coffee mixture.
Pour the evaporated milk into a small saucepan. Heat over low heat until it is very hot and almost boiling. Do not let it boil aggressively.
Add the coffee granules or powder and stir continuously until every bit is completely dissolved.
Remove from the heat and allow the coffee mixture to cool completely.
This step is important. Adding dry coffee powder directly to the ice cream mixture can leave undissolved granules that create sudden bitter spots.
2. Chill your ingredients and equipment.
Before whipping the cream, make sure the all-purpose cream and condensed milk have been chilled overnight.
It is also helpful to chill your mixing bowl and beaters. Keeping everything cold helps the cream whip more efficiently and maintain a stable texture.
3. Whip the cream.
Pour the chilled all-purpose cream into a large mixing bowl. Using a hand mixer, beat the cream until it doubles in volume and becomes fluffy.
This may take several minutes. Be careful not to overbeat it. If the cream is whipped too far, the fat can separate from the liquid and begin turning into butter.
4. Add the condensed milk.
Once the cream has become fluffy, gradually add the chilled condensed milk. Continue mixing until the condensed milk is completely incorporated.
The mixture should be thick, smooth, and creamy.
5. Add the coffee flavor.
Slowly pour the cooled coffee-and-milk mixture into the ice cream base while mixing gently.
Add the coffee mixture gradually and taste as you go. This allows you to control the strength and bitterness of the coffee flavor.
If you prefer a stronger coffee ice cream, you can add more prepared coffee mixture, but avoid adding too much liquid because excess liquid can contribute to ice crystals.
6. Add the chocolate chips.
If using chocolate chips, add them to the mixture and gently fold them in with a spatula.
You can also save some chocolate chips for decorating the top.
7. Transfer and freeze.
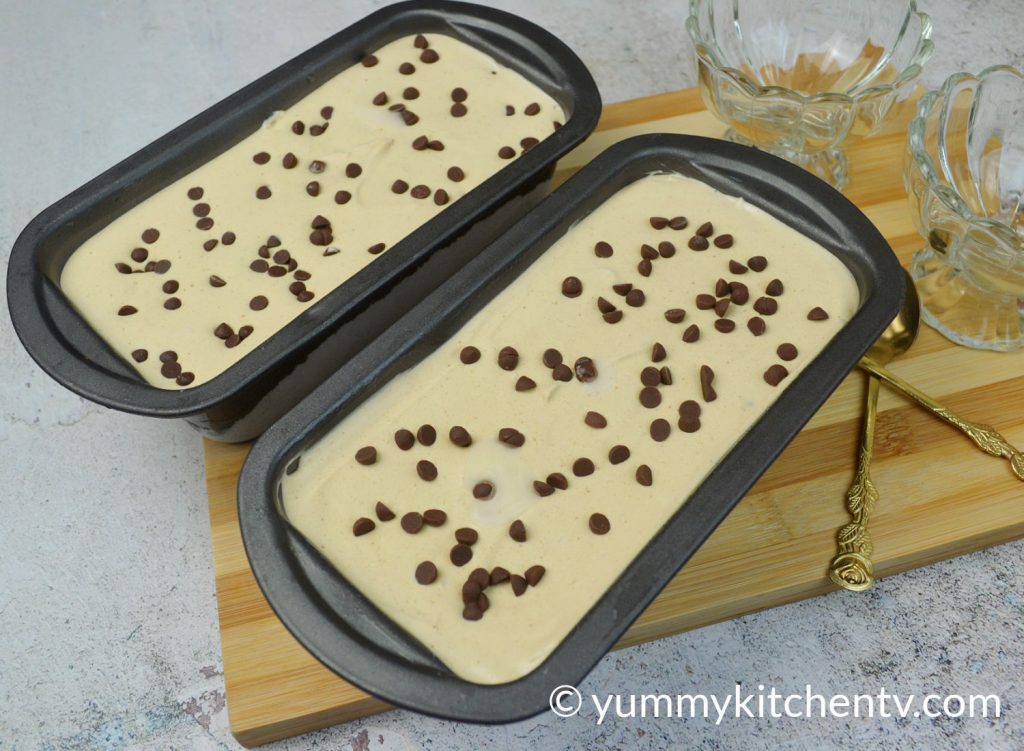
Pour the coffee ice cream mixture into a freezer-safe container. Smooth the surface with a spatula and sprinkle additional chocolate chips over the top.
Cover the container tightly and freeze for at least 8 hours, or until completely firm.
8. Serve.
Once frozen, allow the ice cream to sit at room temperature for a few minutes if it is too hard to scoop.
Scoop into bowls, cones, or cups and enjoy your homemade coffee ice cream chilled.

Tips and Variations
The most important tip for making smooth coffee ice cream is to dissolve the coffee completely before adding it to the ice cream base. This prevents unpleasant bitter granules from remaining in the finished dessert.
You can dissolve the coffee in evaporated milk, as used in this recipe, or dissolve it in a small amount of hot water. If using water, keep the quantity small. Adding too much liquid can make the ice cream base thinner and increase the chance of ice crystals forming.
Using evaporated milk provides an advantage because it adds a little extra creaminess and milk flavor to the coffee mixture.
Always allow the coffee mixture to cool before adding it to the whipped cream. Hot liquid can deflate the cream and affect the texture.
For the best whipping results, chill the all-purpose cream overnight. You can also use whipping cream or heavy cream as an alternative.
Do not overwhip the cream. Stop once it has doubled in volume and has a fluffy consistency.
If you enjoy a stronger coffee flavor, increase the coffee gradually rather than simply adding dry powder directly to the mixture.
For a mocha version, add a little cocoa powder or melted chocolate to the coffee mixture. You can also make a Dalgona coffee ice cream version by preparing whipped coffee and swirling it through the ice cream before freezing.
For toppings, try chocolate chips, crushed chocolate cookies, toasted nuts, chocolate shavings, or a drizzle of chocolate syrup.
Storage
Store homemade coffee ice cream in a tightly covered freezer-safe container. Keeping it covered helps prevent ice crystals from forming and keeps the dessert from absorbing odors from other foods in the freezer.
For the best texture, avoid repeatedly thawing and refreezing the entire container. Instead, scoop only the amount you plan to eat and immediately return the container to the freezer.
Homemade ice cream can become quite firm after several hours in the freezer. Allow it to sit at room temperature for a few minutes before scooping.
Because this is a homemade dairy-based dessert, keep it frozen and avoid leaving it at room temperature for extended periods.
Serving Suggestions
Serve Coffee Ice Cream in a chilled bowl, ice cream cone, or dessert cup. Sprinkle chocolate chips over the top for a simple finishing touch.
For an extra indulgent dessert, drizzle the ice cream with chocolate syrup and add crushed cookies or nuts. A little whipped cream can also turn a simple scoop into a café-style dessert.
You can also serve a scoop alongside warm brownies, chocolate cake, cookies, or pancakes. The cold coffee ice cream makes a wonderful contrast to warm desserts.
For coffee lovers, serve it with a freshly brewed cup of coffee for an extra dose of your favorite flavor. Yes, it may sound like a lot of coffee, but sometimes there is simply no such thing as too much!
Conclusion
This Coffee Ice Cream Recipe is a delicious solution for coffee lovers who want something cold, creamy, and homemade. With a few simple ingredients and a little preparation, you can create a rich frozen dessert without an ice cream machine.
The key lesson is to dissolve the coffee properly before incorporating it into the ice cream base. This small step prevents bitter coffee granules and helps create a smoother, more enjoyable texture.
Chill your ingredients well, whip the cream carefully, add the coffee gradually, and freeze the mixture until firm. Finish it with chocolate chips or your favorite toppings, then scoop and enjoy.
Whether you are making it for a summer gathering, a family dessert, or simply because you love coffee, this homemade coffee ice cream is definitely worth trying. It combines the refreshing chill of ice cream with the bold flavor of coffee in every creamy spoonful. Once you make it successfully at home, you may never look at your afternoon coffee the same way again. It is especially enjoyable when shared with family and friends, but keeping an extra container in the freezer is perfectly understandable for serious coffee lovers. After all, a scoop of coffee ice cream is a delicious little reminder that your favorite coffee flavor does not always have to come in a hot cup.